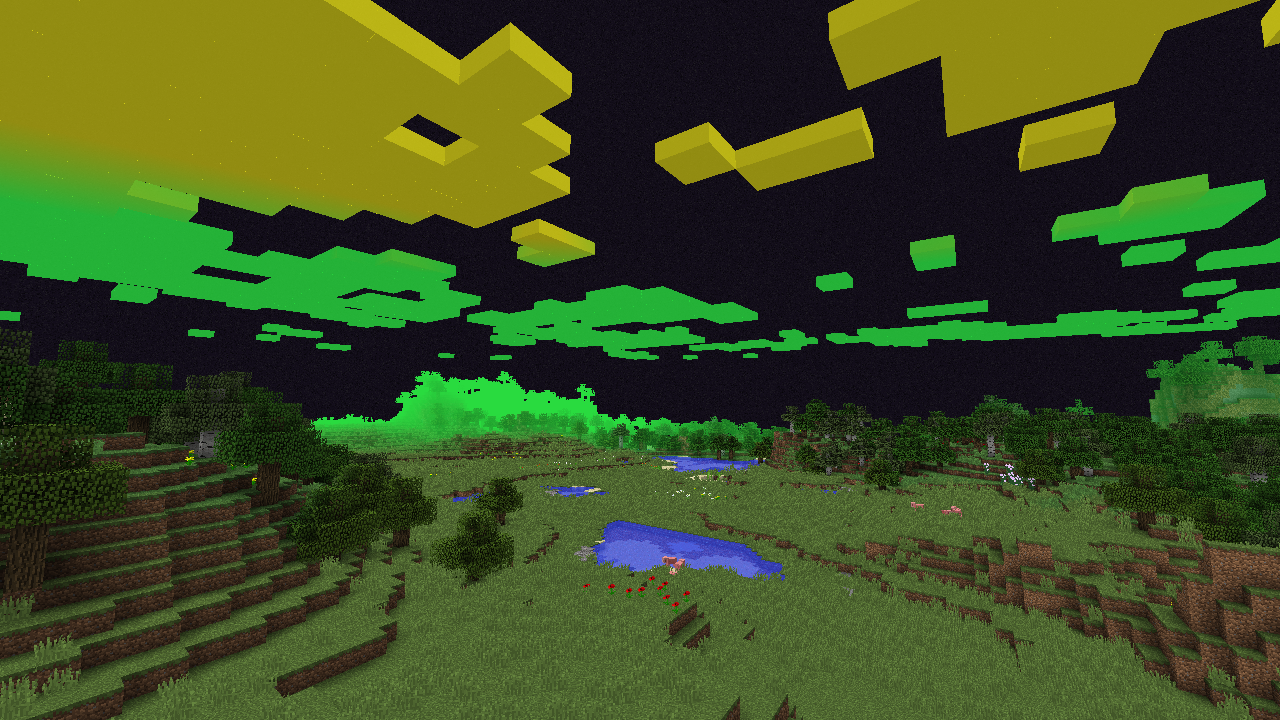
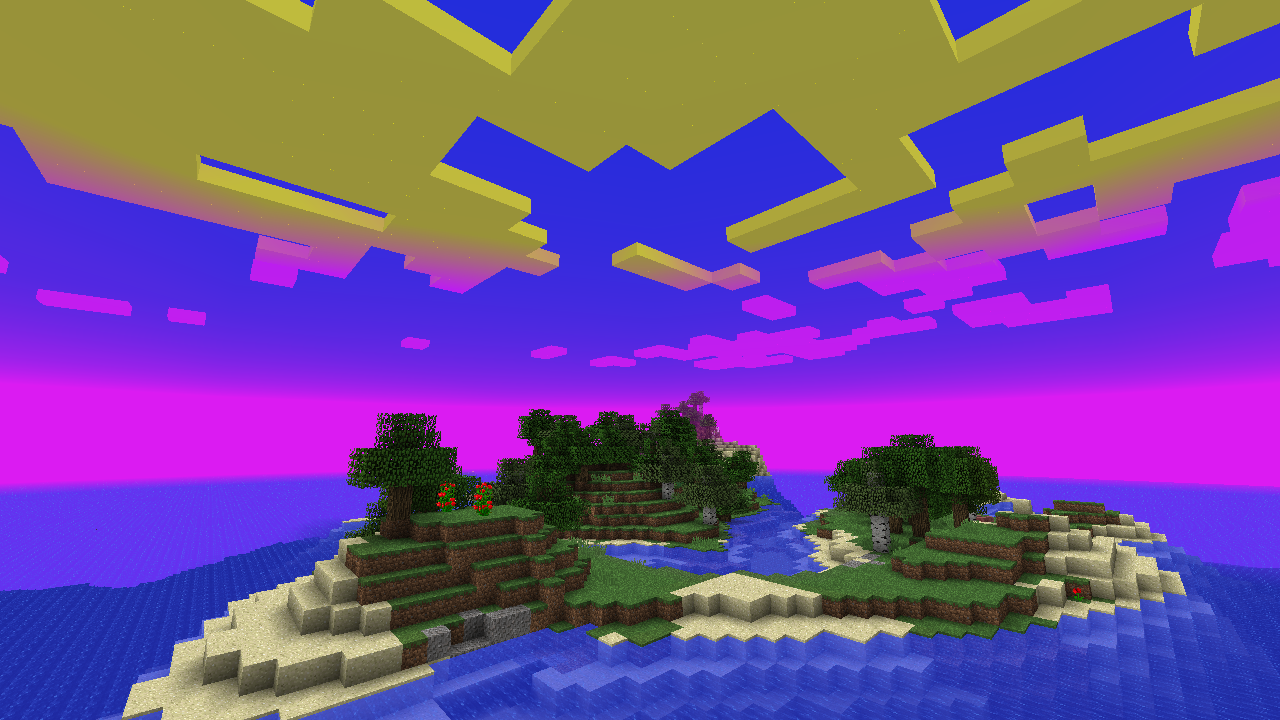
Just Enough Dimensions allows registering new custom dimensions to the game, OR it can also be used to just tweak some properties of existing dimensions.
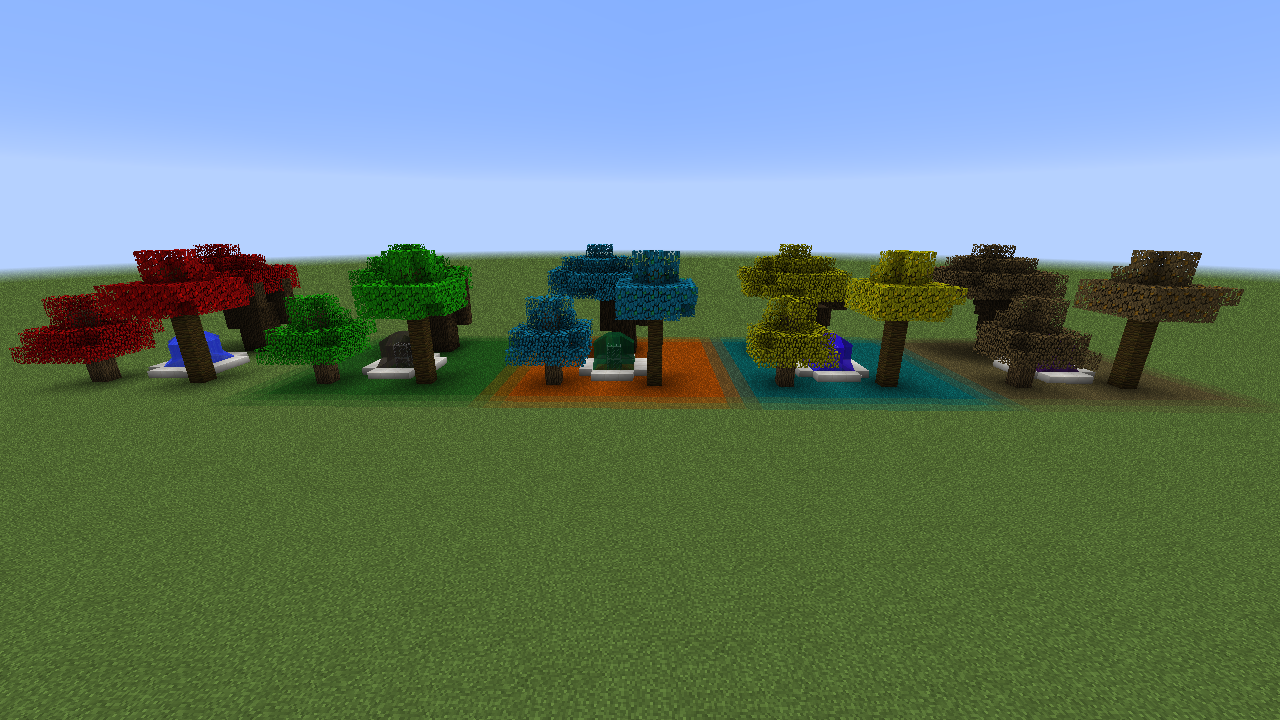
Examples of such tweaks would be enabling per-dimension World Borders, so that the border in the Nether could be 1/8 of the size of the overworld border and not the same size, or to change the sky and/or fog and/or cloud colors or the cloud render height.
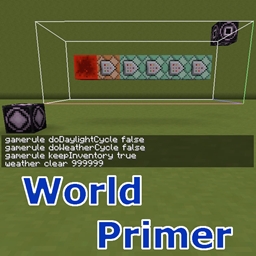
As of version 1.6.0 it's also possible to simply use JED to force certain settings for the world when it's first created, such as the WorldType of generator settings (for example making a superflat world, or a void world [which is also a form of superflat]), or setting some GameRules. (This did work before 1.6.0 as well, but not quite the same way and not as cleanly.)
Note: Due to the way that dimension IDs (and WorldProviders) are handled in vanilla and Forge, and also due to the rendering related customization options, this mod is also required on the client side.
https://modrinth.com/mod/just-enough-dimensions
All dimension registrations and configs are done via a simple JSON config file. There is also an in-game 'dimbuilder' command to create/register dimensions or to edit the properties of a previously added dimension, and it can change most of the values that the config file stores, but not quite all of them. Basically more complex things like the light brightness table or biome foliage colors etc. can only be added and configured directly via the dimensions.json config file.
The dimension registration and per-dimension settings are done via the global config/justenoughdimensions/dimensions.json file, or the worlddirectory/justenoughdimensions/dimensions.json file, if it exists. The world one takes precedence, if it exists.
If you are not familiar with (or not "an expert" in) the JSON format, or you just want to check for any typos/errors in the config when editing it manually, I recommend using one of the many online JSON validators or editors. Some examples are: https://jsonformatter.org/ and http://www.jsoneditoronline.org/ and https://www.cleancss.com/json-editor/ and https://jsonlint.com/ and https://www.freeformatter.com/json-validator.html .
Also using a proper text editor with proper syntax hilighting support helps a lot. Personally I use Sublime Text, but Notepad++ or Atom are also good alternatives.
If you are on the JED 1.6.0 dev versions (which I do highly recommend over the old 1.5.x versions!), then there are a number of important changes in the format and some of the options in the dimension.json config file.
The most important change is that the custom JED options tag was moved and renamed, and also some of the other options were renamed.
The tag used to be called JED and it was inside the worldinfo tag, but in 1.6.0 it's now a lower case jed, and it was moved outside of the worldinfo tag, directly inside the main per-dimension object.
The full list of changes and additions in the 1.6.0-dev version can be found here: https://pastebin.com/raw/28jeWZyv
There are numerous config examples of doing various things on my pastebin here: https://pastebin.com/u/masa-
My main/generic development testing config with lots of different features being used is here: https://pastebin.com/m9xYSHZd
There are a few config options in the main mod config, to enable certain functionality.
Note: They are all disabled by default just in case!
The dimension registration and per-dimension settings are done via the global config/justenoughdimensions/dimensions.json file, or the worlddirectory/justenoughdimensions/dimensions.json file, if it exists. The world one takes precedence, if it exists.
Here is an example of simply registering some custom dimensions, that you should easily be able to adapt:
{
	"dimensions": [
		{
			"dim": 9,
			"dimensiontype":
			{
				"id": 9,
				"name": "Test dim 9",
				"suffix": "_dim9",
				"keeploaded": false,
				"worldprovider": "WorldProviderSurfaceJED"
			}
		},
		{
			"dim": 10,
			"dimensiontype":
			{
				"id": 10,
				"name": "Test dim 10",
				"suffix": "_dim10",
				"keeploaded": false,
				"worldprovider": "WorldProviderHellJED"
			}
		},
		{
			"dim": 11,
			"dimensiontype":
			{
				"id": 11,
				"name": "Test dim 11",
				"suffix": "_dim11",
				"keeploaded": false,
				"worldprovider": "WorldProviderEndJED"
			}
		},
		{
			"dim": 15,
			"dimensiontype":
			{
				"id": 15,
				"name": "Test dim 15",
				"suffix": "_dim15",
				"keeploaded": false,
				"worldprovider": "biomesoplenty.common.world.WorldProviderHellBOP"
			}
		}
	]
}
The most important part is the dimension id, given in the dim integer.
The dimensiontype object contains the information that will get passed to the vanilla DimensionType registration:
Note: Using the JED-variants over the vanilla ones is highly recommended, because they have certain fixes and changes, which are a requirement for some things in this mod to work (like the color customizations).
Other keys/values on the main level of a dimension entry are:
Here is an example if you want to disable/unregister a dimension, let's say you want to disable the End:
Note: You will also need to have the enableUnregisteringDimensions config option enabled for this to work!
{
	"dimensions": [
		{
			"dim": 1,
			"unregister": true
		}
	]
}
Here is one of my testing configs from my development environment. It has several types of examples for creating different types of customized dimensions:
http://pastebin.com/LpRYUNyi.
Thanks to the separate WorldInfo object (essentially per-dimension level.dat files), it is possible to use per-dimension world seed, level-type, generator settings etc.
You can for example create a Biomes O' Plenty dimension, even if your main overworld is vanilla or RTG or whatever.
Note: Without per-dimension WorldInfo, the /tpj <dim> teleport command that takes you to the dimension's spawn point, will often lead to hazardous places. This is because without separate WorldInfo, each dimension will inherit/use the exact same spawn coordinates from the overworld. And those can be anywhere in relation to the custom dimension's terrain, often inside the ground. So enabling the per-dimension WorldInfo is recommended in most cases (especially if you are regularly going to need the teleport command), unless it causes some specific problems for you.
NOTE: For the per-dimension settings, for example gamerules, to work, there are two requirements:
Note: For separate World Borders, you also need to have the config option enableSeparateWorldBorders enabled, because they need to use custom syncing!
Note: The RTG (Realistic Terrain Generation) mod is currently hard-coded to only work in dimension 0, ie. the Overworld. Thus, if you want to have an RTG world, that needs to be the regular "main" overworld! You can then create the custom dimensions as regular vanilla or Biomes O' Plenty or whatever world types you want. Even superflat, amplified or the debug world type work just fine in custom dimensions!
Note about RTG: If you want to use RTG in the overworld (dimension 0), and also enable WorldInfo override for the overworld, then you need to use WorldProviderSurfaceJED and also set the "override": true option for dimension 0, and be using JED 1.3.6 or newer! Otherwise RTG decorations won't work, and you'll get no trees/flowers/tall grass etc at all.
Here is an example what the dimensions.json config should contain at minimum, if you just want to enable per-dimension settings for some dimensions, in this example the vanilla Nether and End dimensions.
This essentially separates the Nether and End WorldInfo objects from the Overworld, which allows them to have separate time, gamerules, World Border, seed, etc. Note that you also need to have the appropriate options enabled in the main JED config file (justenoughdimensions.cfg or via the in-game config menu in single player) for whatever you are using the WorldInfo override for!
{
	"dimensions": [
		{
			"dim": -1,
			"worldinfo": {}
		},
		{
			"dim": 1,
			"worldinfo": {}
		}
	]
}
Tip: The keys for the world-type/level-type and seed are: generatorName, RandomSeed. These are what they are saved as in the level.dat file.
Here is the full list of supported keys inside the "worldinfo" object:
NOTE: The keys are case-sensitive! So you MUST use them exactly as given here, or they won't work!
Note: Any values set in the worldinfo object will always override the corresponding values from the per-dimension level.dat file when a dimension gets loaded! So you most likely don't want to set things like the world time there, unless you for some reason would always like it to reset back to a certain value when the dimension loads.
Instead, the vanilla settings should usually be set in the worldinfo_onetime object, instead of the regular worldinfo object (via commands this is done using the "-onetime" variant of the dimbuilder set/remove/list commands). That way they will only be set once when the dimension is first created, instead of getting set/overridden every time the dimension loads. Of course if you actually want to set/override them every time the dimension gets loaded, then you can set them in the regular worldinfo object/section.
Starting from version 1.4.0, it is possible to customize the foliage, grass and water color multipliers per-dimension and per-biome.
This does not require WorldInfo override to be used for those dimensions.
To customize the colors, add the biome registry names and the hex color codes for the things you want to customize, inside a colors object on the main level of the dimension entry, and then an array of objects named FoliageColors, GrassColors and WaterColors inside that colors object. Each of those objects inside the array will then contain a string value named biome for the exact biome registry name, OR you can also target multiple biomes at once using a regular expression, if you use the name biome_regex instead. The other value inside that object is a hex string for the color, called color.
Note: If you use the regular expression to target multiple biomes, then the order of the array is important! The array is iterated in order, and for each entry, be it the exact name (biome) or a regular expression (biome_regex), the color is applied for whatever the biome specification matches at that time. Meaning that anything that comes later in the array, will override a previously set value.
And since an example is likely ten times easier to understand: https://pastebin.com/eWrNcwiS
In this example, dimension 12 is a simple case where only those 4 biomes are affected. In dimension 13 however, the regex causes the foliage color to be changed to a shade of red in ALL vanilla biomes, but then the later 4 entries override that color for those 4 biomes.
Note: You can specify only the types of colors you want to change (foliage or grass or water). The example config is from my testing, so I was setting them all for all the 4 biomes I tested it with.
Note: The water color multiplier event in Forge is not used in 1.10.2, meaning that the water color customization unfortunately won't work in 1.10.2! It has been fixed in Forge in 1.11.2 though, so it does work in 1.11.2.
Note: There is however another issue as well: The foliage color event is not fired for Mesa and Swamp biomes, and the grass color event is not fired for Forest, Mesa and Swamp biomes. So the colors are hard coded in those biomes, and the overrides won't work, unless it gets fixed in Forge at some point.
Tip: To get the biome registry names that you must use for the config, you can use the TellMe mod (the command /tellme dump biomes). What you are looking for, is the Registry name column. Here is a ready made dump of all vanilla biomes as of Minecraft 1.11.2: http://pastebin.com/raw/U5cvkdKz
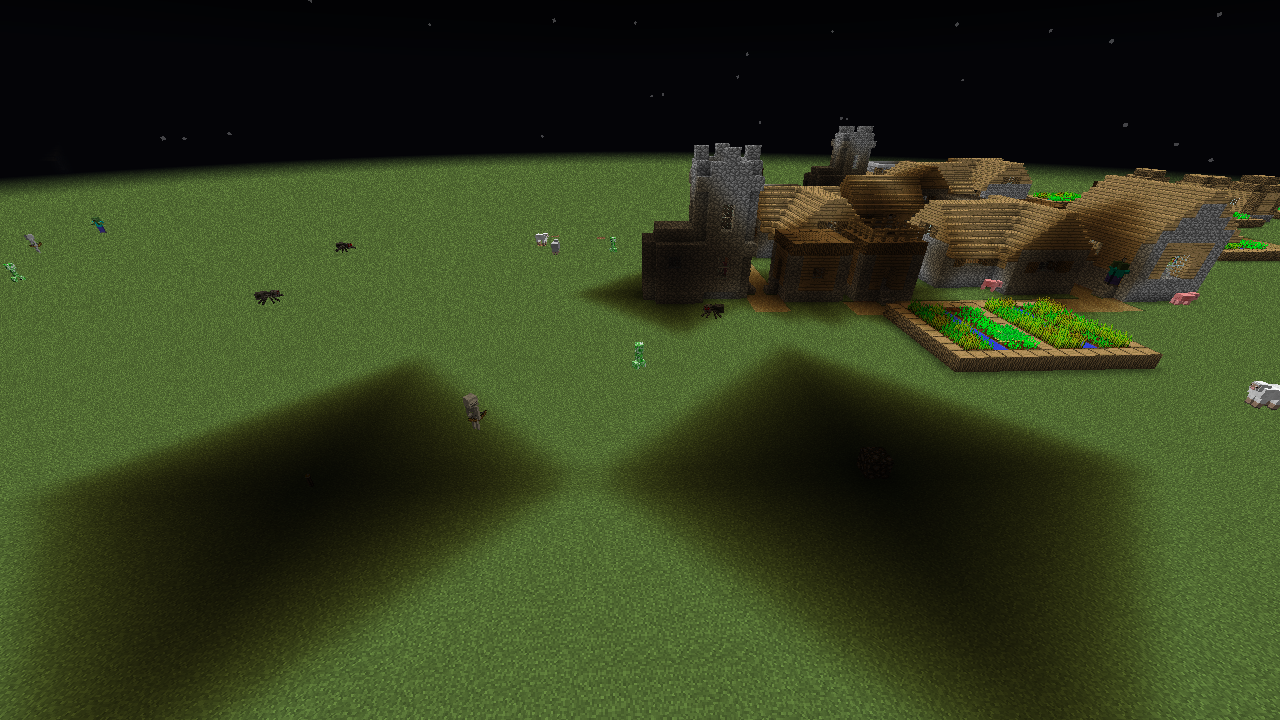
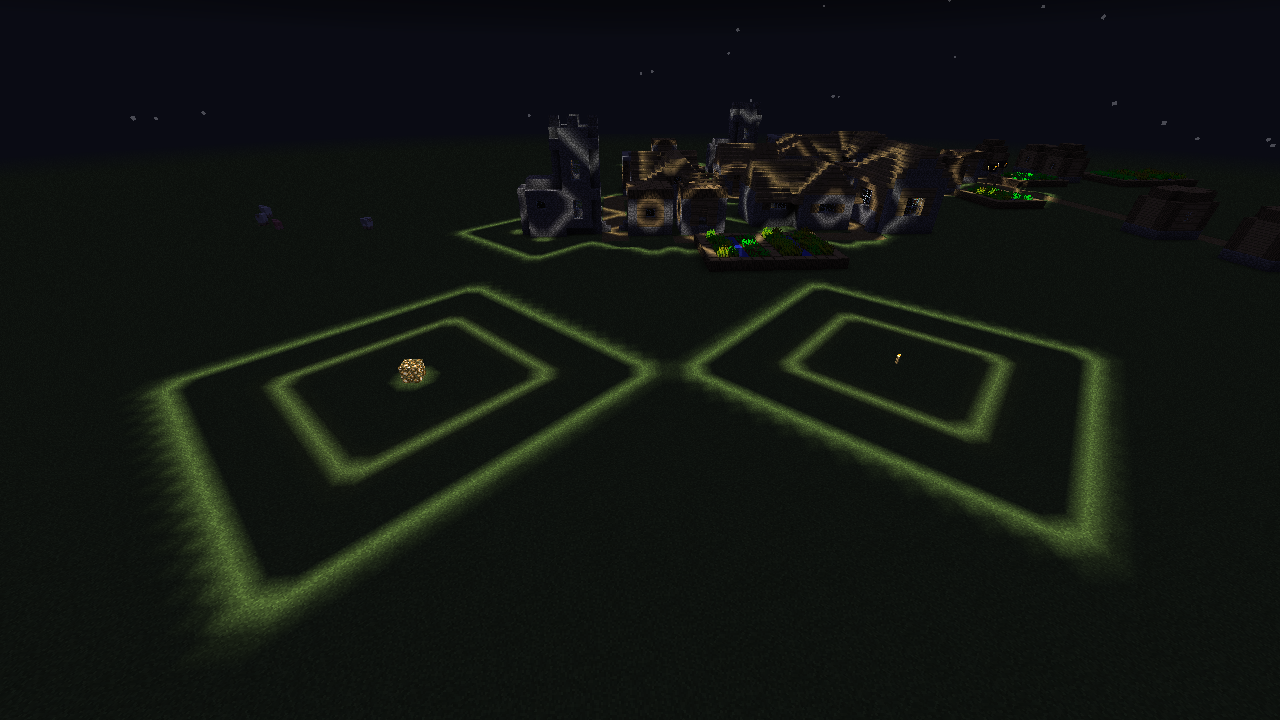
Starting from version 1.4.0, it is possible to customize the light brightness table for JED-type WorldProviders.
This is done by adding an array called LightBrightness inside the JED object, inside the worldinfo object. The array must have exactly 16 numeric values in it, the values should be 0...1 to indicate the brightness of the light for each block light value 0...15.
Here are a couple of config examples. These are the values used for the two example screenshots on the Images page: https://pastebin.com/nYfSE3Td
The default values for overworld-type worlds are the values in the second example (dimension 11), but in reverse order (thus the name of the test dimension...).
You can set per-dimension gamerules, by adding a GameRules object inside the worldinfo_onetime (or worldinfo) object. Inside that GameRules object add all the gamerules you want to set for that dimension.
Here is an example of setting a gamerule for a dimension in the config: https://pastebin.com/GakmHRvm
As of version 1.3.8, the gamerules can also be added or removed using the dimbuilder command, For example:
/jed dimbuilder set-onetime doDaylightCycle false
If you don't need the gamerules to be set automatically during the creation of the dimension, you can also just use the /jed gamerule command while in the dimension, to set the gamerule once. Note that the WorldInfo override does need to be enabled for that dimension, otherwise the dimension will use the overworld gamerules (and changing them would change the overworld/global gamerule!).
Starting from JED version 1.1.0, it is possible to set the sky color, cloud color, fog color and cloud height for each dimension. You can also set the day length and the night length separately. You can also enable "forced gamemode" for each dimension, which means that the players' gamemode will automatically be changed (to the one set for that dimension via the /jed defaultgametype command) when they enter the dimension. When they leave such a dimension and return to a non-forced-gamemode dimension, their original gamemode will be restored.
Starting from JED version 1.3.0, it is possible to disable the sun, moon and stars, individually, if using WorldProviderSurfaceJED.
The available "JED-keys" are:
In the dimensions.json config, these go inside a JED object, inside the worldinfo object (and they MUST be inside the worldinfo object, they will NOT work inside the worldinfo_onetime object. You can also set them directly using the dimbuilder command, for example: /jed dimbuilder set SkyColor f844ee or to remove a key: /jed dimbuilder remove CloudHeight.
Note: For these settings to work, the dimension in question must be using one of the JED WorldProvider variants, in most cases WorldProviderSurfaceJED (the nether and end WorldProviders have different lighting and colors, so they probably wouldn't work properly for color customization).
Note: As of version 1.3.7, the SkyRenderType and the SkyDisableFlags options also work on non-JED WorldProviders.
{
	"dimensions": [
		{
			"dim": 2,
			"worldinfo": {
				"JED": {
					"DayLength": "200",
					"NightLength": "200",
					"SkyColor": "ff8888",
					"CloudColor": "ddddff",
					"ForceGameMode": "true",
					"SkyDisableFlags": 7
				}
			},
			"worldinfo_onetime": {
				"generatorName": "BIOMESOP",
				"RandomSeed": "Kitty Cat"
			}
		}
	]
}
Tip: If you want to try out different sky colors for example, you can do it like this (this example assumes the dimension ID to be 2):
To make things easier, this mod also adds a custom teleport command that works cross-dimensionally. That way you can easily get to a custom dimension at least once, so that you can set up whatever mod teleporters you have available. The command variants are:
Run the command without any arguments to see the current dimension ID, and to see the usage/help.
This command support the vanilla entity selectors, so you could for example teleport all creepers to 256, 64, 256 in dimension 6 by doing: /tpj @e[type=Creeper] 6 256 64 256 (entity name format in MC 1.10.2, in 1.11+ it would be creeper or minecraft:creeper).
The second command this mod adds is the /jed command, which has several "sub-commands". These can be used to register/unregister/create dimensions and set the per-dimension settings for dimensions that use a separate WorldInfo object.
If you don't want to fiddle around with the dimensions.json config file, everything in it can be manipulated through the /jed dimbuilder command.
Here are all the available /jed sub-commands, first the per-dimension counterparts of the vanilla commands:
For example, assuming you are currently in dimension 6 and you want to disable the day light cycle:
/jed gamerule doDaylightCycle false.
OR, if you are in some other dimension, but you want to change the gamerule for dimension 6:
/jed gamerule 6 doDaylightCycle false. This does require dimension 6 to be currently loaded though.
Note: The dimension ID in the command is in most cases optional, and if you don't specify it, then it will affect the dimension you are currently in!
However, for the setworldspawn command the dimension ID however is required, IF you want to set the spawn and give the coordinates. Setting the spawn to your player's location or using the query command variant however don't require the dimension (ie. it's optional, like for most other commands).
Here are the actual JED commands:
The dimbuilder command can be used to "build" dimensions by setting all the various values for it the way you want it to be. It stores and manipulates all the values in a separate in-memory json structure until you tell it to save it, create it as a dimension, clear the data or read it from an existing dimension entry in the config.
Note: The list, set and remove commands have two variants, the regular, and a "-onetime" version. The onetime versions are used to change the values for the worldinfo_onetime object, whereas the normal versions change them for the regular worldinfo object. In general, it's recommended to set the vanilla properties in the worldinfo_onetime object, so that they get set only once during the creation/first load of the dimension, instead of them getting set again/overridden every time the dimension loads.
All the supported JED-properties and vanilla properties (keys that are inside the level.dat file) are recognized by name and automatically added to the correct place. Meaning that for example the JED-specific property SkyRendertype will get nested inside a "JED" object, inside the "worldinfo" object.
As of version 1.3.8, it's now also possible to set gamerules via the dimbuilder command. Anything that isn't a JED-property or a key inside level.dat, is assumed to be a gamerule and will get added inside a "GameRules" object, inside one of the worldinfo objects (depending on the set or set-onetime variant). As of 1.3.8, it is now also possible to add (an empty) or remove the worldinfo (or worldinfo_onetime) objects.
Here is an example how you would create a new Biomes O' Plenty dimension as dimension ID 6, with a world seed "Super Seed":
NOTE: The keys (ie. what comes right after the "set" command: name, generatorName, RandomSeed etc.), and in many cases the values, are case-sensitive! So you MUST use them exactly as given here, or they won't work!
Note: The vanilla settings should usually be set in the worldinfo_onetime object, instead of the regular one (so using the "-onetime" variant of the set/remove/list commands). That way they will only be set once when the dimension is first created, instead of getting set/overridden every time the dimension loads. Of course if you actually want to set/override them every time the dimension gets loaded, then you can set them in the regular worldinfo object/section.
In this example the name for the dimension in the dimtype command is first set to tmpname because you can't use spaces in that command for any of the parameters, because space denotes a new parameter. But because the final chosen example name "Real Name Dim 6" has spaces in it, it is therefore set separately after the dimtype command by using the "/jed dimbuilder set" command with the key "name". The set command uses all of the parameters after the first one which is the key, as the value, joined by spaces. In other words, with the set command you can set values to keys that contain spaces. Using the dimtype command isn't even required, you could simply set the name, suffix, keeploaded and worldprovider keys using the set command directly, but the dimtype command is a bit of a shortcut though, setting them all in one command. And only the name can/should have spaces in it anyway.
This would produce an entry in the dimensions.json something like this:
{
	"dimensions": [
		{
			"dim": 6,
			"dimensiontype": {
				"id": 6,
				"name": "Real Name Dim 6",
				"suffix": "_dim6",
				"keeploaded": false,
				"worldprovider": "WorldProviderSurfaceJED"
			},
			"worldinfo_onetime": {
				"RandomSeed": "Super Seed",
				"generatorName": "BIOMESOP"
			}
		}
	]
}
If you want to use existing worlds as custom dimensions, you can do that in two cases:
Basically, using existing worlds as custom dimension is a bit tricky because of the dynamic block IDs. You can do it if you only need to use one such existing world, or if they only contain vanilla blocks. And you must prepare for that before first starting this new server/world. The issue here is the block IDs. They get assigned per-world, so essentially every modded world will have different numerical block IDs in the actual world data in the region files (for modded blocks anyway, vanilla IDs are still static, at least for now). So you need the block ID map that belongs for that particular world, otherwise all modded blocks will be completely messed up and will likely also lead to crashes on world load. The block ID map is stored in the level.dat file by Forge.
So if you want to use an existing modded world as a custom dimension, then you need to use the level.dat from that world as the "actual/main" level.dat file for this new world/server, ie. inside the main world directory, when you first create this new world for this project. That way the game will have the same block IDs as that old world had, and then all the new dimensions will be generated using the same IDs.
If you have ideas or questions or feedback, or maybe you just want to hang out, you can join us on Discord: