Description
Glowing Eyes
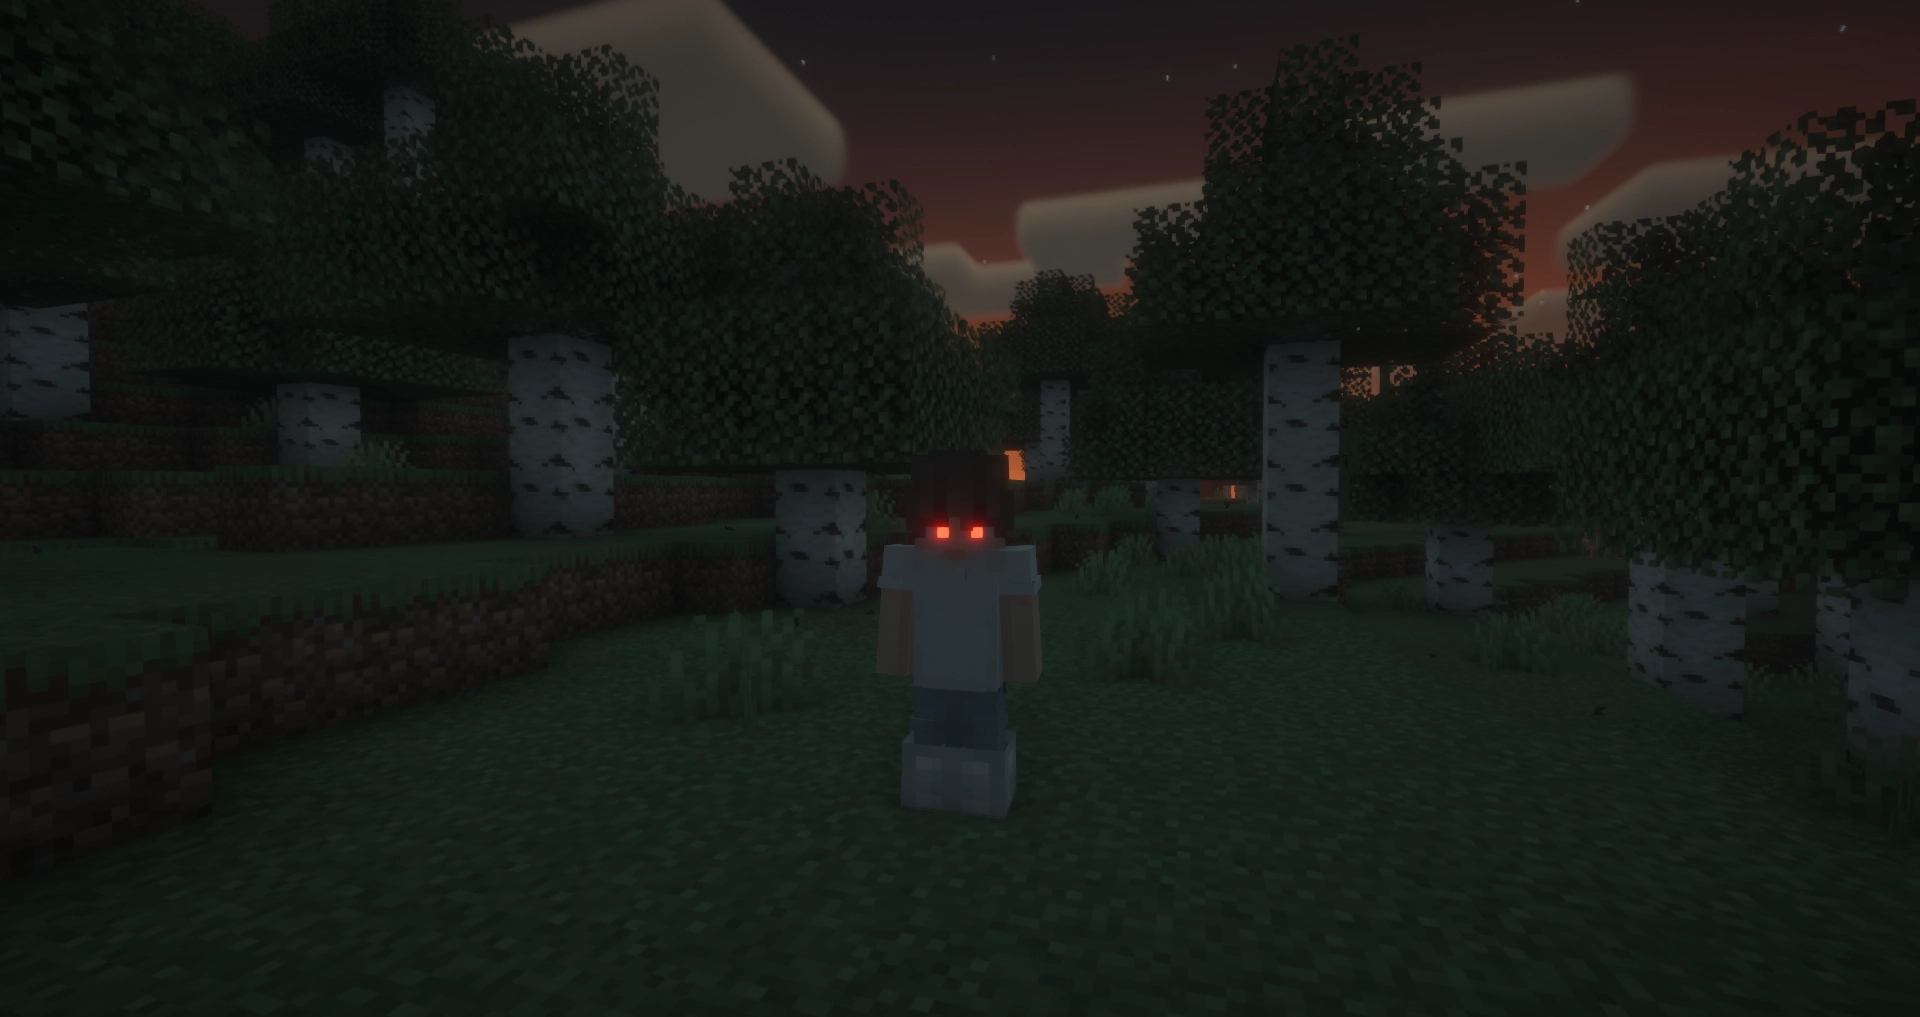
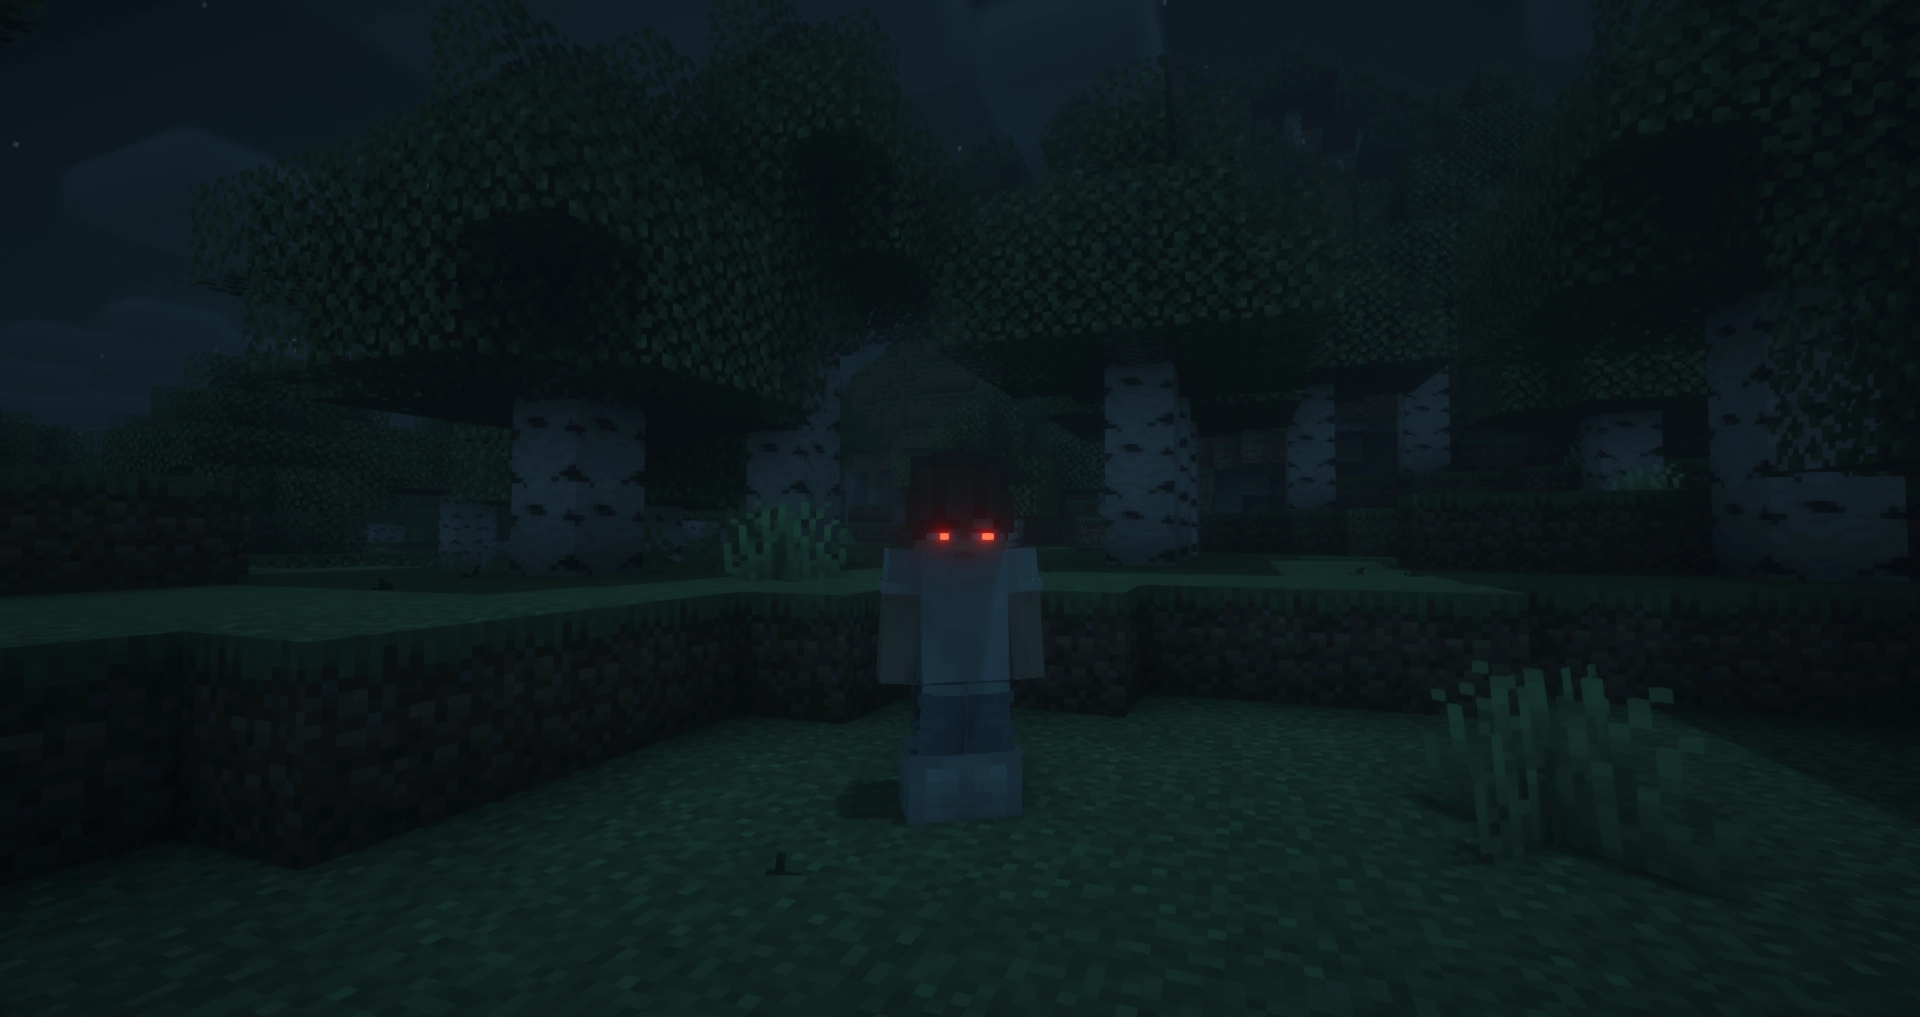
Glowing Eyes is a Minecraft mod that lets you customize and make your character’s eyes glow! Inspired by the Vampirism mod, this mod adds a detailed eye editor with color selection, presets, and new customization options. Stand out in the dark with glowing eyes!

With Fresh Moves support!

FAQ
Does this mod work in multiplayer?
Yes, however, the mod must be installed on both the server and the client for it to work properly. Players that do not have the mod can still play, but will not see the glowing eyes.
Why doesn’t the mod work / why don’t my eyes glow?
Most likely, you accidentally turned off your eyes. The default keybinding to toggle glowing eyes on and off is G
. If that doesn’t fix the issue, please report a bug on the GitHub issues tab or in the Discord server.
Usage
General Usage
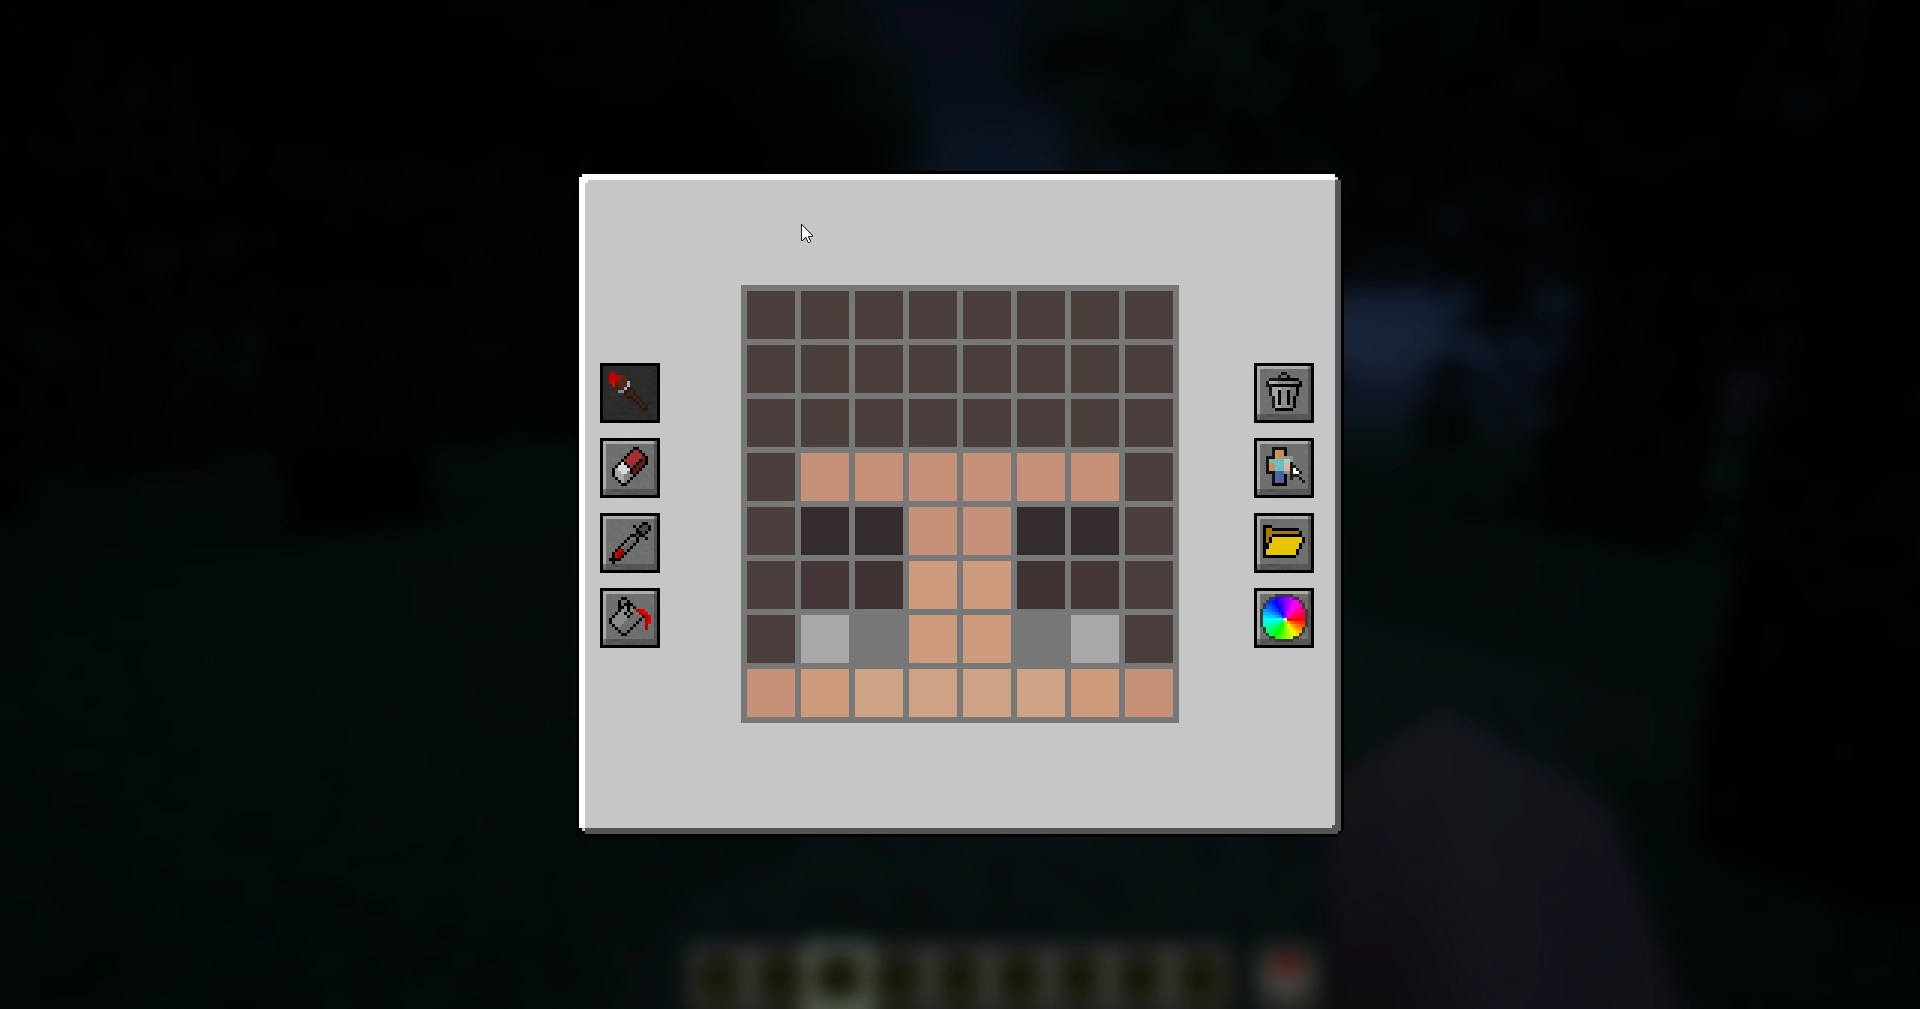
To access the eye editor, use the /eyes
command or press the keybinding (H
by default). This will open the customization menu, where you can tweak your glowing eyes.

- Left side: Drawing, erasing and color picking tools to design your glowing eyes.
- Right side: Preset manager, color picker, and two additional buttons:
- Skin part selector: Choose which part of the skin you want to apply glowing eyes to.
- Reset button: Completely removes your current eyes, including other skin parts (but not presets).
Skin Parts
With the skin parts system, you are no longer limited to adding eyes only to the front of your character’s head. Now, you can apply glowing eyes anywhere on your head and head overlay!

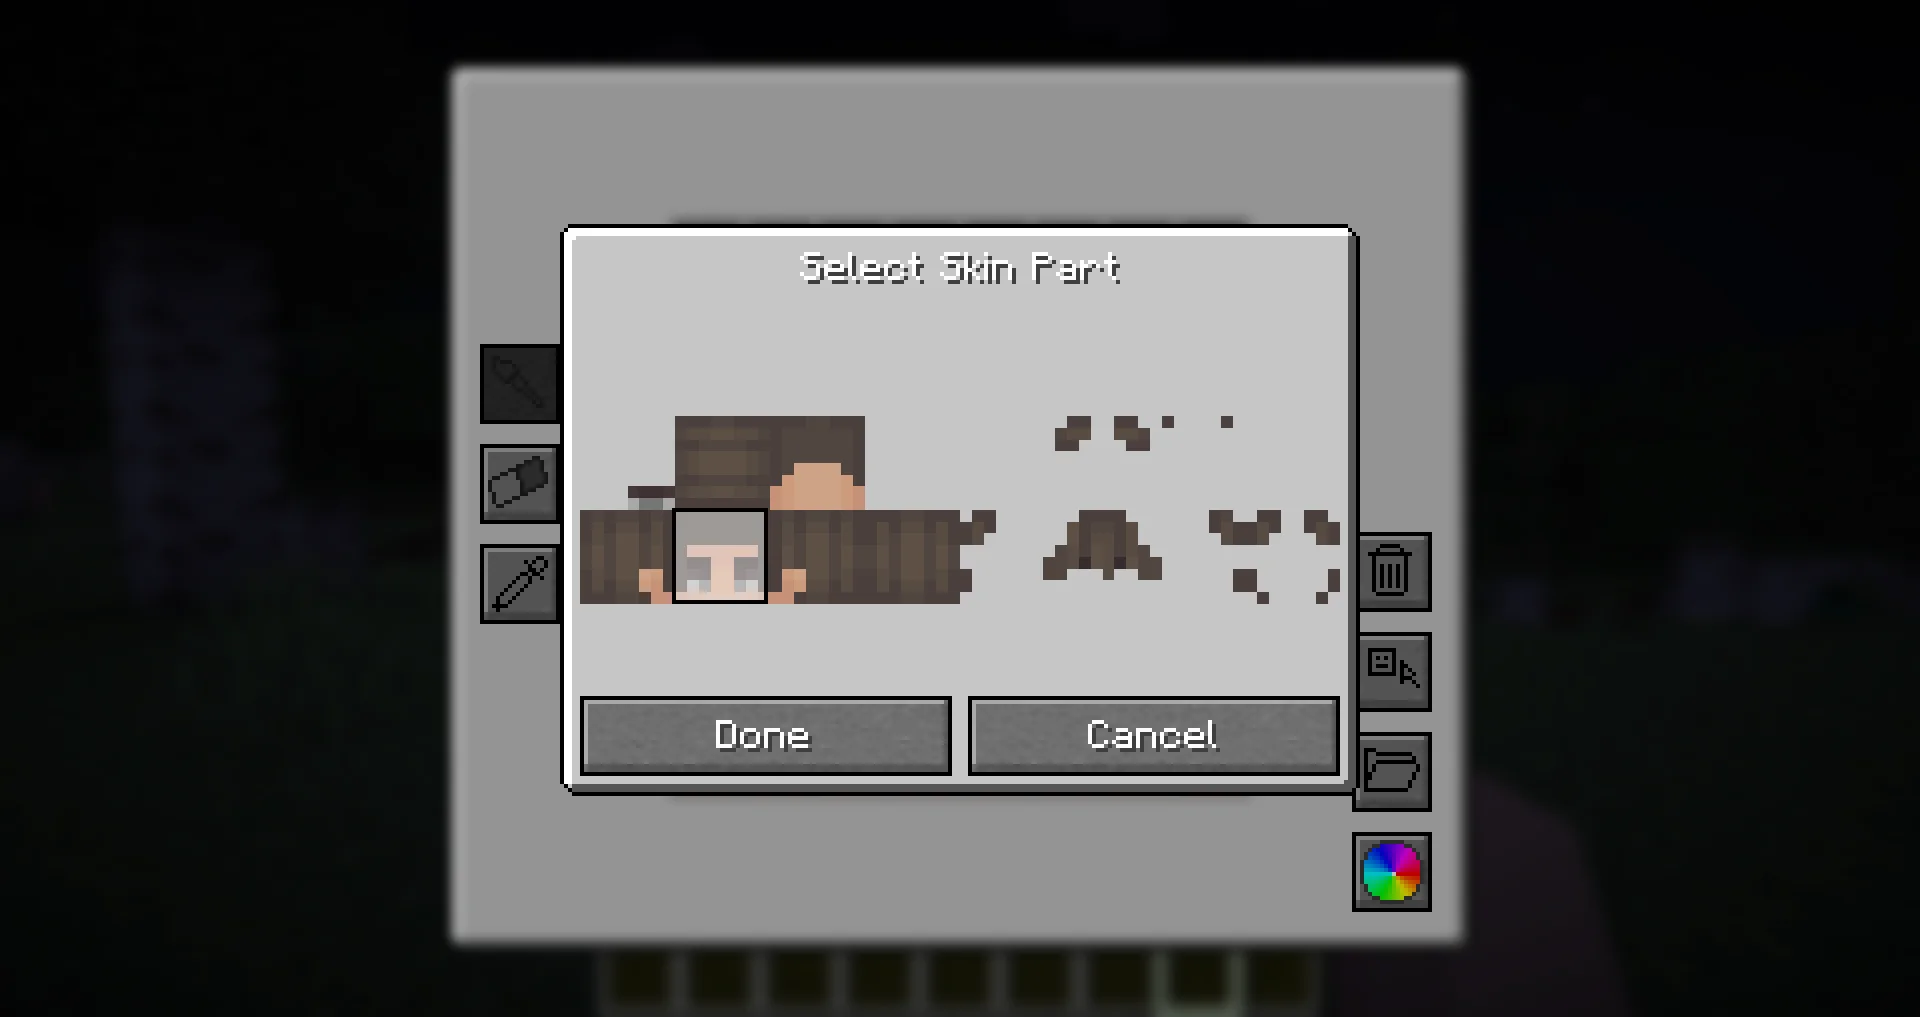
This feature allows for more creative and unique glowing eye designs, such as side or back-facing eyes!
Presets
Presets allow you to save and quickly switch between different glowing eye designs.

- The preset menu lets you create, save, and apply different presets.
- All presets are saved in the
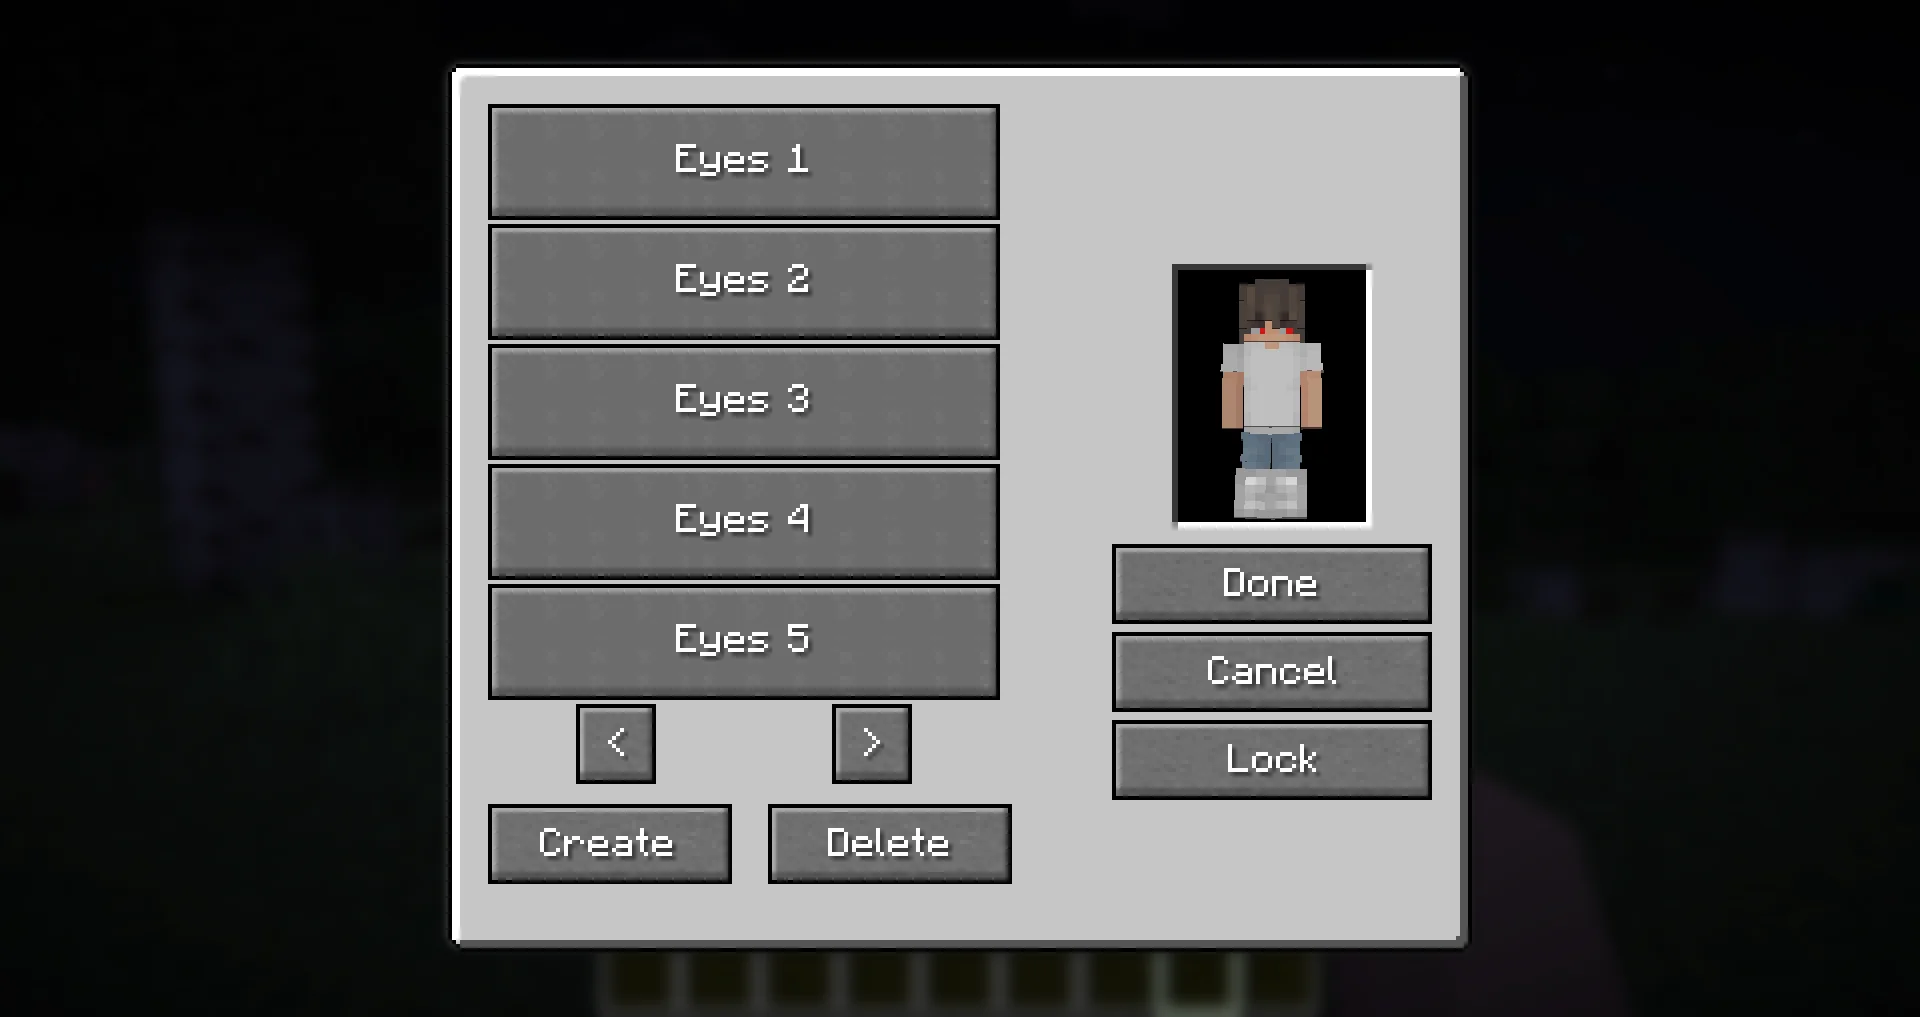
presets.json
file in your Minecraft directory.
- Easily experiment with different glowing eye styles without losing your designs!
Need Support?
If you need help, have a question, or just want to chat, join the Discord server. To report bugs or suggest features, please use the GitHub repository.
Thanks!
Big thanks to Olivo for helping with the editor GUI screen! If not him, this all would not be possible! Thanks to the Vampirism mod and its authors/contributors for the idea, inspiration, and some code, please check them out! Huge thanks to the Modded Minecraft Discord Server for their help with coding!
AD
Become Premium to remove Ads!
What means Verified?
-
Compatibility: The mod should be compatible with the latest version of Minecraft and be clearly labeled with its supported versions.
-
Functionality: The mod should work as advertised and not cause any game-breaking bugs or crashes.
-
Security: The mod should not contain any malicious code or attempts to steal personal information.
-
Performance: The mod should not cause a significant decrease in the game's performance, such as by causing lag or reducing frame rates.
-
Originality: The mod should be original and not a copy of someone else's work.
-
Up-to-date: The mod should be regularly updated to fix bugs, improve performance, and maintain compatibility with the latest version of Minecraft.
-
Support: The mod should have an active developer who provides support and troubleshooting assistance to users.
-
License: The mod should be released under a clear and open source license that allows others to use, modify, and redistribute the code.
-
Documentation: The mod should come with clear and detailed documentation on how to install and use it.
AD
Become Premium to remove Ads!
How to Install
Download Forge & Java
Download Forge from the offical Site or here. If you dont have Java installed then install it now from here. After Downloading Forge you can run the file with Java.
Prepare
Lounch Minecraft and select your Forge istallation as Version this will create a Folder called Mods.
Add Mods
Type Win+R and type %appdata% and open the .minecraft Folder. There will you find your Folder called Mods. Place all Mods you want to play in this Folder
Enjoy
You are now Ready. Re-start your Game and start Playing.