


Biome Replacer is a simple and easy-to-use utility mod for removing unwanted biomes
*Please note that Biome Replacer cannot change terrain shape. This means that it's impossible to change oceans to land, create ocean-only worlds, etc.
**The only currently supported biome libraries are TerraBlender & Blueprint, so you won't be able to change Biolith biomes, for example. Still, BR should not break, and will work fine alongside most world generation mods.
biome_replacer.properties in the config folderIf you made any mistakes, you will see warnings in chat. Check for typos in your biome IDs, and try again.
Tip: on client, you don't deed to restart the game every time you change your rules, you can simply leave and enter the world again.
Rules follow the format old_biome > new_biome. Here is an example with vanilla biomes:
minecraft:dark_forest > minecraft:cherry_grove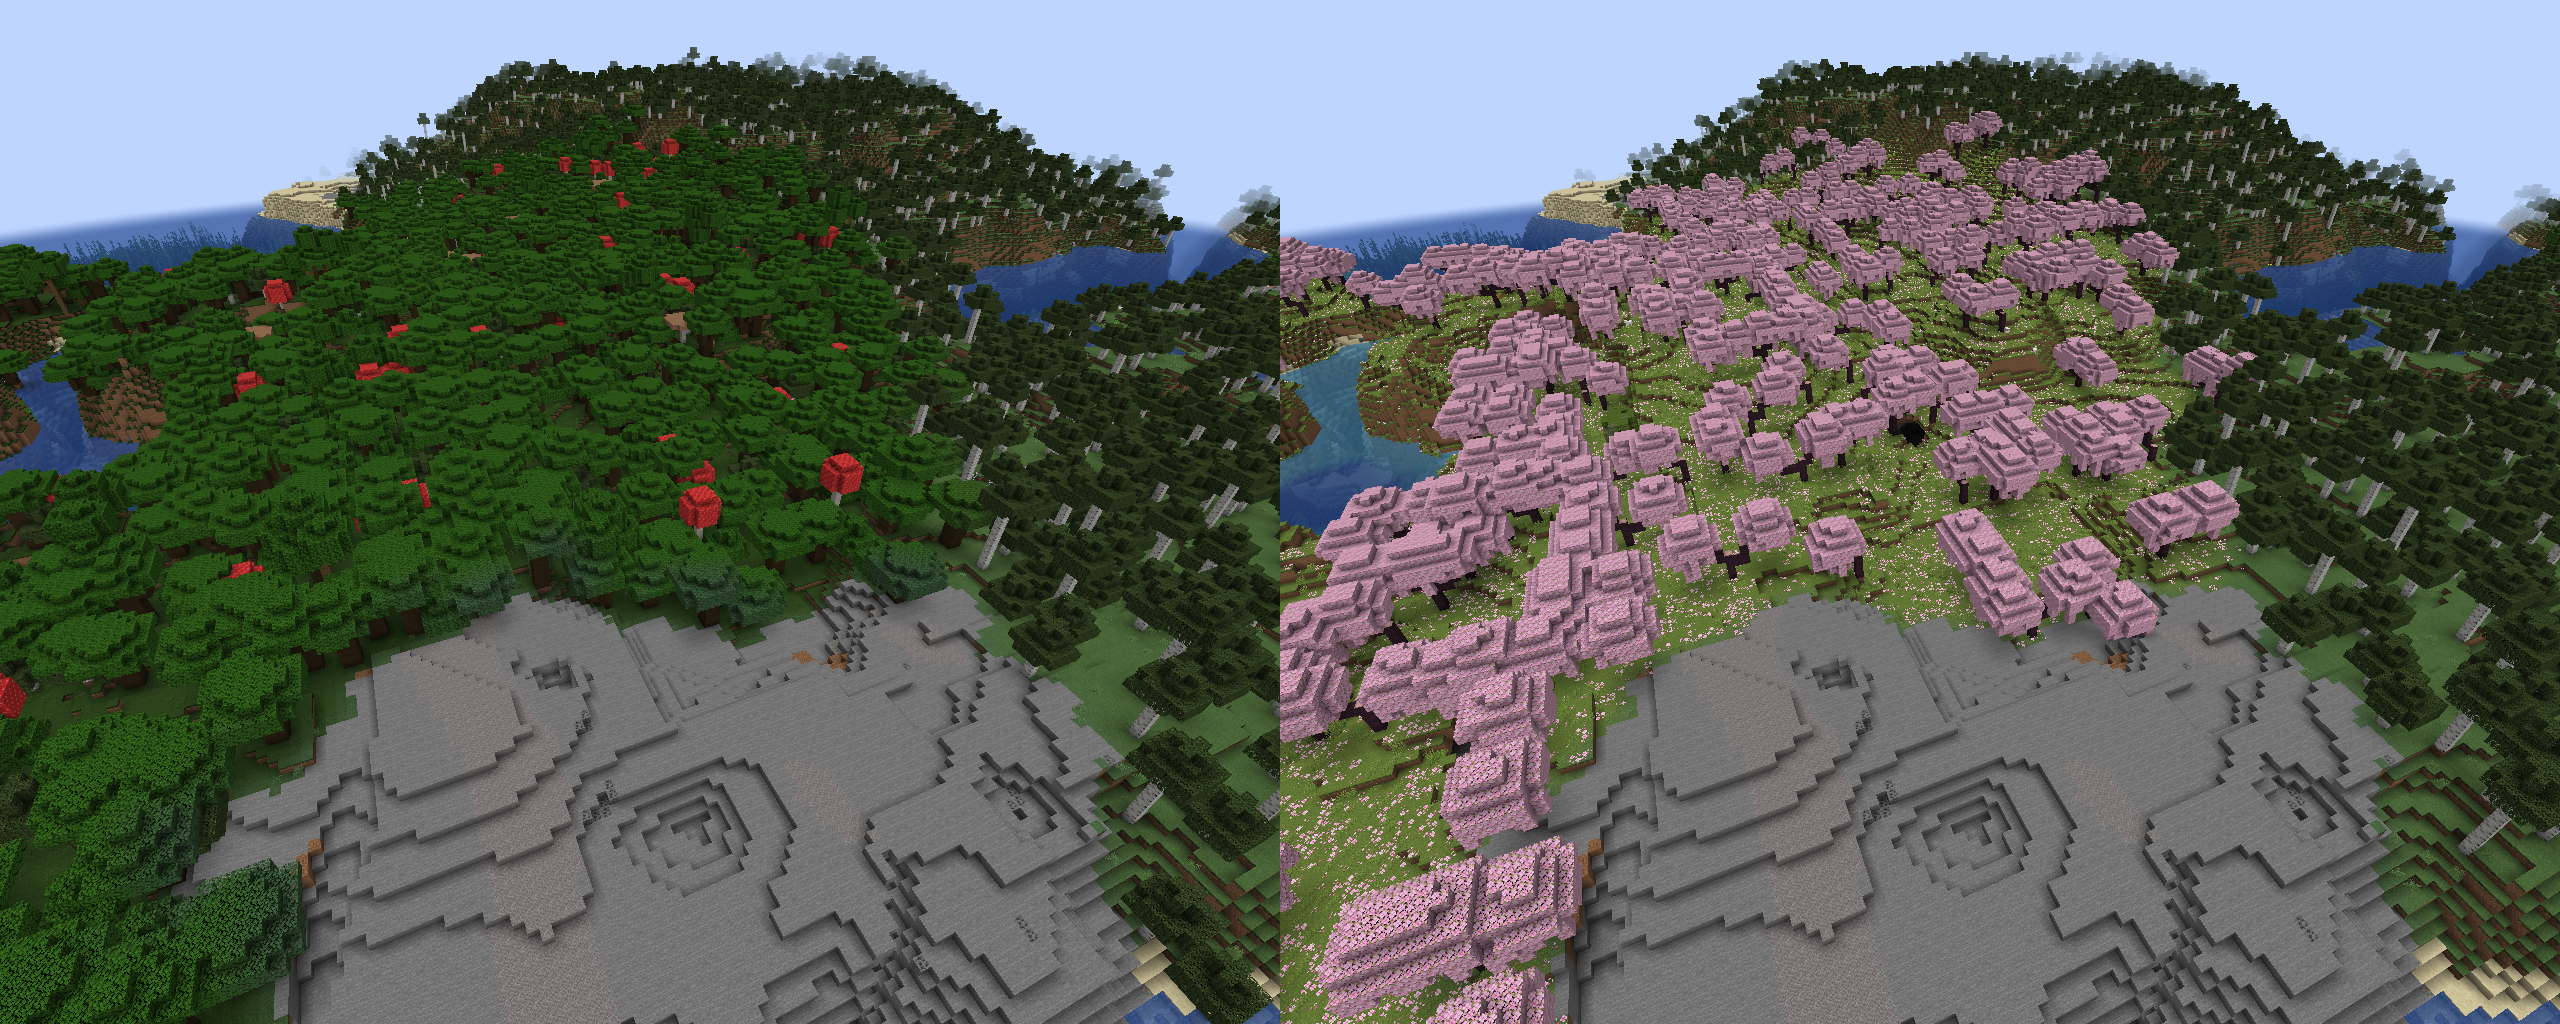
Using biome tags is supported:
#minecraft:is_forest > minecraft:desert
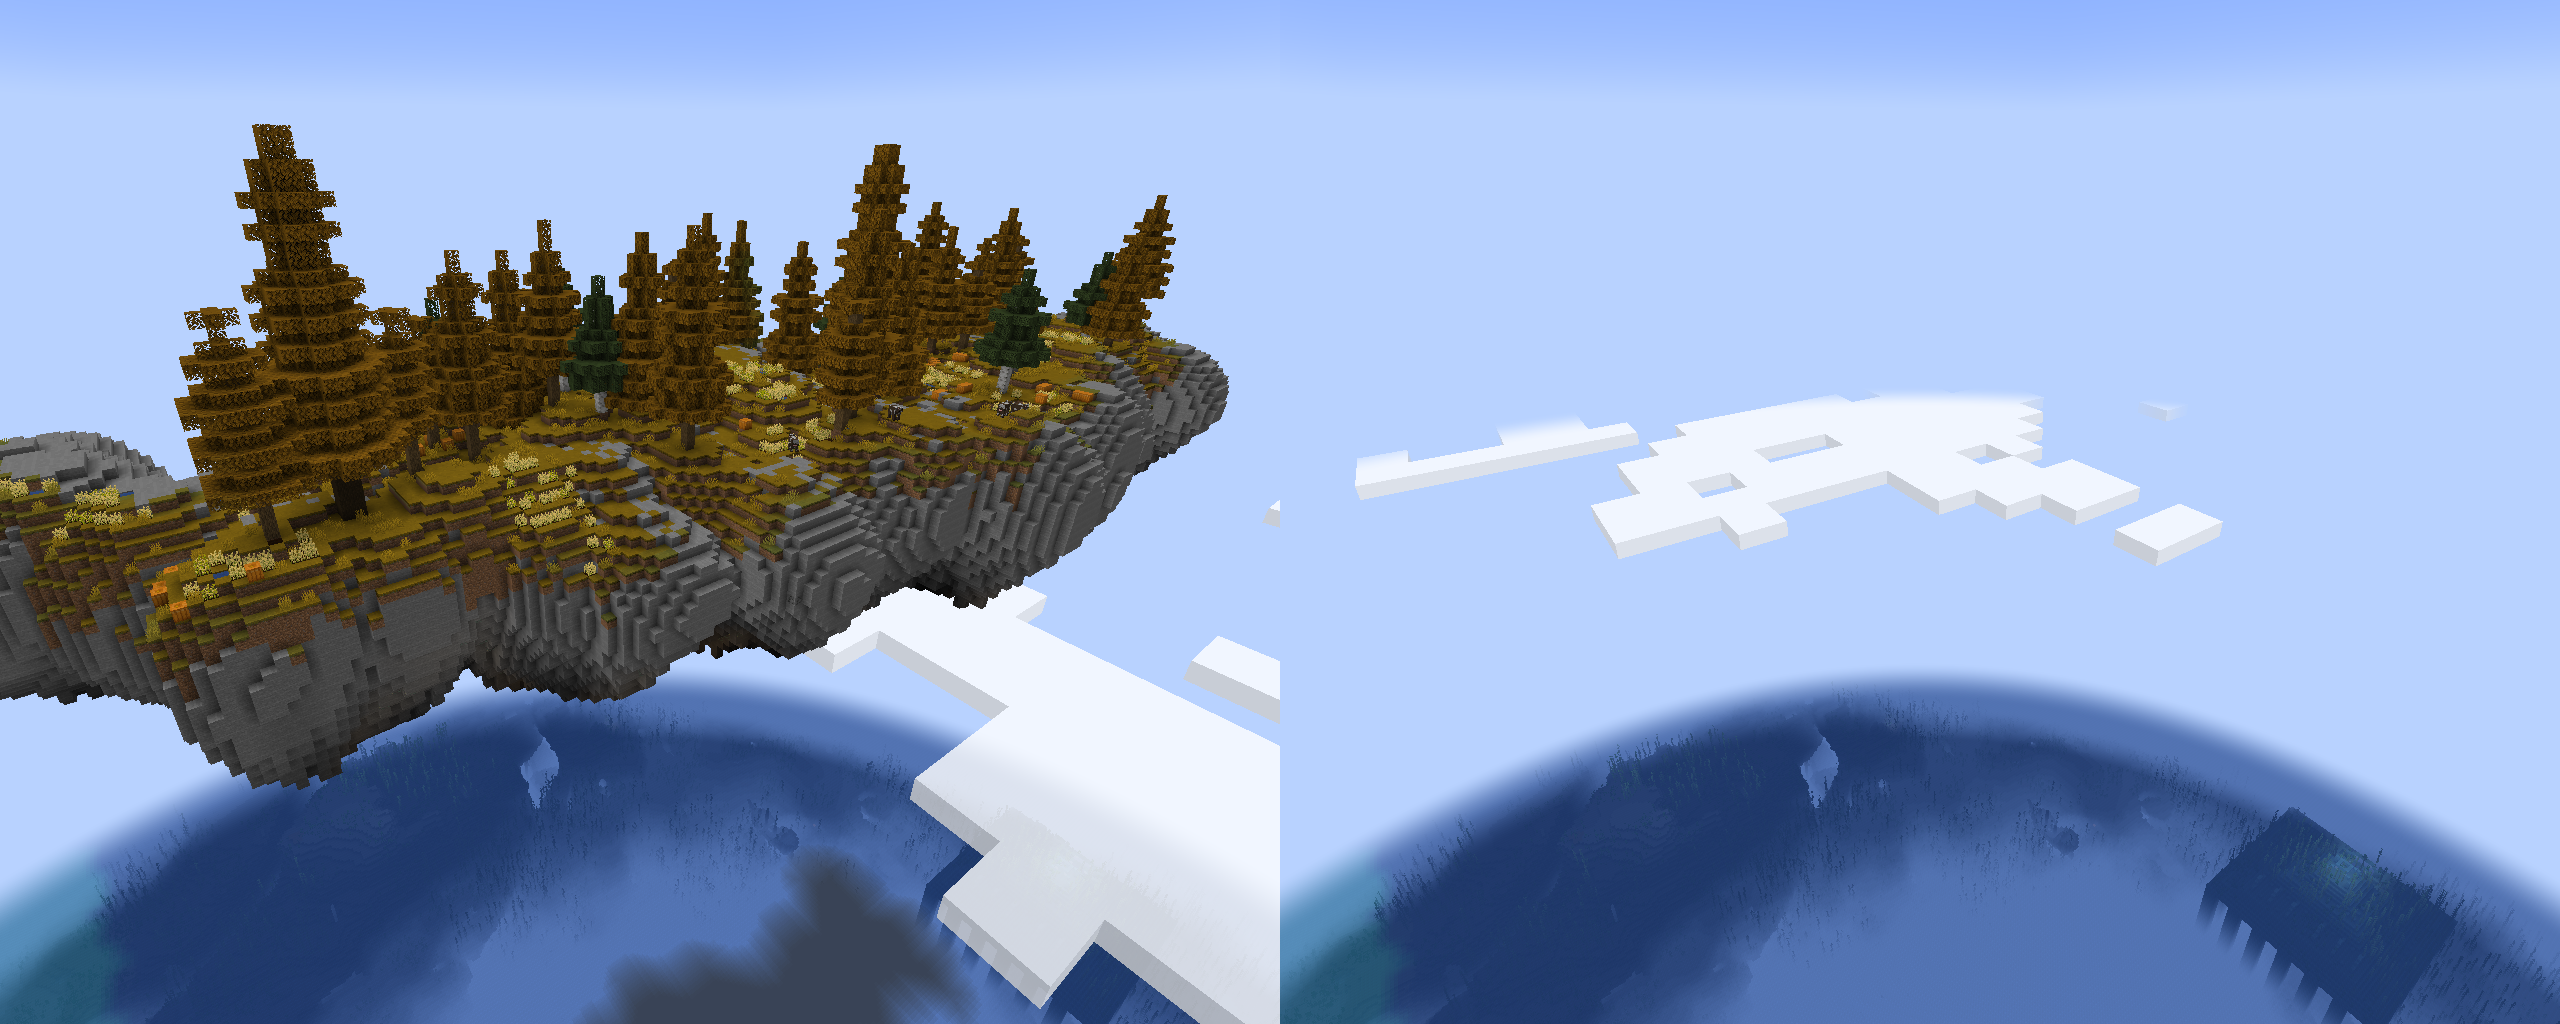
it's possible to completely remove biomes using a "null" keyword. For example, these rules will remove Terralith's skylands:
terralith:skylands_autumn > null
terralith:skylands_winter > null
terralith:skylands_spring > null
terralith:skylands_summer > null
You can also use a biome tag to achieve the same effect:
#terralith:skylands > nullImportant: if you're not careful, using this method on biomes from vanilla and datapacks can cause crashes, or mess up biome distribution. Please test thoroughly before using it in a world you care about!
To target specific dimensions, use headers with dimension ID: [mod:dimension]. Rules following it will only be applied to a specified dimension.
(Note that this typically isn't needed, unless you have custom dimensions that generate the same biomes, and you want to target only one of them)
[minecraft:overworld]
minecraft:desert > null

[custom:dimension]
minecraft:desert > minecraft:badlands